Configuring Peer Security Settings
Configure security settings for Peers in the Peer Gallery to manage data protection and maintain compliance with privacy regulations like GDPR and KVKK.
Security Configuration Steps
1. Access the Peer Gallery
- Log in to your Cognipeer dashboard.
- On the left-hand menu, click on Peers to view the list of your existing Peers.
- Click on the Peer Gallery button to explore pre-built Peers or manage your existing ones.
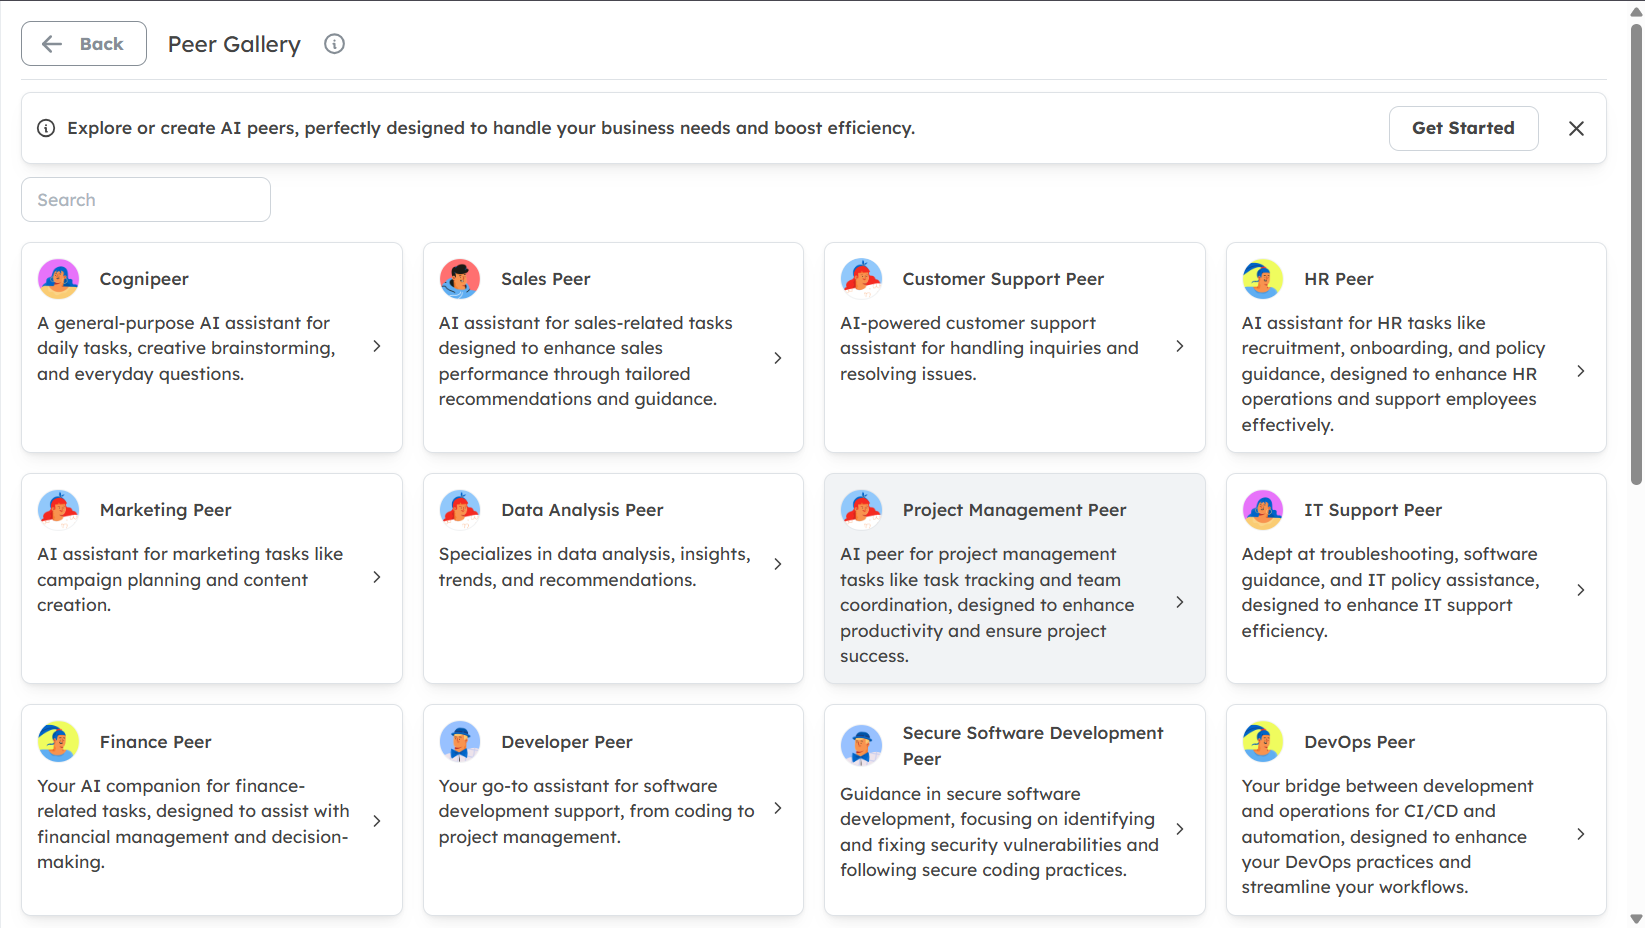
2. Select a Peer to Configure
- In the Peer Gallery, browse through the list of available Peers. You can filter Peers based on categories like Sales, Customer Support, HR, and Marketing.
- Click on the Peer you want to configure. This will open the Peer’s detailed settings page.
3. Navigate to the Security Tab
- Once inside the Peer’s settings, locate the Security tab. This tab is where you can configure all security-related settings for the selected Peer.
- Click on the Security tab to open the security configuration options.

4. Configure Data Protection Settings
In the Security tab, you will see a list of data types that the Peer can interact with. These include:
- Code
- Phone Number
- Identity Number
- API Token
- Credit Card
- Address
- Birth Date
- IP Address
- URL
- Social Media
- Password
For each data type, you can toggle whether the Peer is allowed to access or share this information. For example, if you want to prevent the Peer from accessing Credit Card information, simply toggle the switch to Off.
5. Ensure GDPR/KVKK Compliance
- To ensure compliance with GDPR or KVKK, make sure that sensitive data types like Email, Phone Number, and Identity Number are properly restricted.
- You can also configure the Peer to automatically anonymize or redact sensitive information in its responses.
6. Save Your Security Settings
- After configuring the security settings, scroll down to the bottom of the page.
- Click the Save button to apply the changes.
7. Test the Peer’s Security Settings
- Once the settings are saved, you can test the Peer by interacting with it in the Chat Interface.
- Ask the Peer questions that involve sensitive data to ensure that it is handling the information according to the security settings you configured.
Additional Security Features
- Document Upload Restrictions: You can enable or disable the ability for users to upload documents that the Peer can analyze. This is useful for controlling the flow of sensitive information.
- Message Deletion: You can enable the option to delete chat history, ensuring that sensitive conversations are not stored indefinitely.
- Search Thresholds: Adjust the search thresholds to control how much information the Peer retrieves from its knowledge base.