Welcome to Cognipeer Studio
Welcome to Cognipeer Studio, the control plane for building AI on the Cognipeer platform. Studio is where teams create, customize, test, and ship AI-powered Peers — with data sources, tools, flows, and channels in one workspace. This guide covers the basics: creating Peers, attaching data sources, and integrating tools.
Studio and Pulse
Studio is the product for building agents. If you are looking for the workspace AI assistant that runs the work through a persistent timeline, see Cognipeer Pulse.
Introduction
Studio lets businesses design custom AI agents called Peers that can assist in tasks such as customer support, sales, marketing, and internal processes. You can either create a Peer from scratch to suit your specific business needs or select from the gallery of pre-configured Peers.
Key Features of cognipeer
Dashboard Interface
The Dashboard is the central hub where you can manage your Peers, monitor conversations, and connect tools and data sources. It provides detailed performance metrics and insights into how your Peers are used.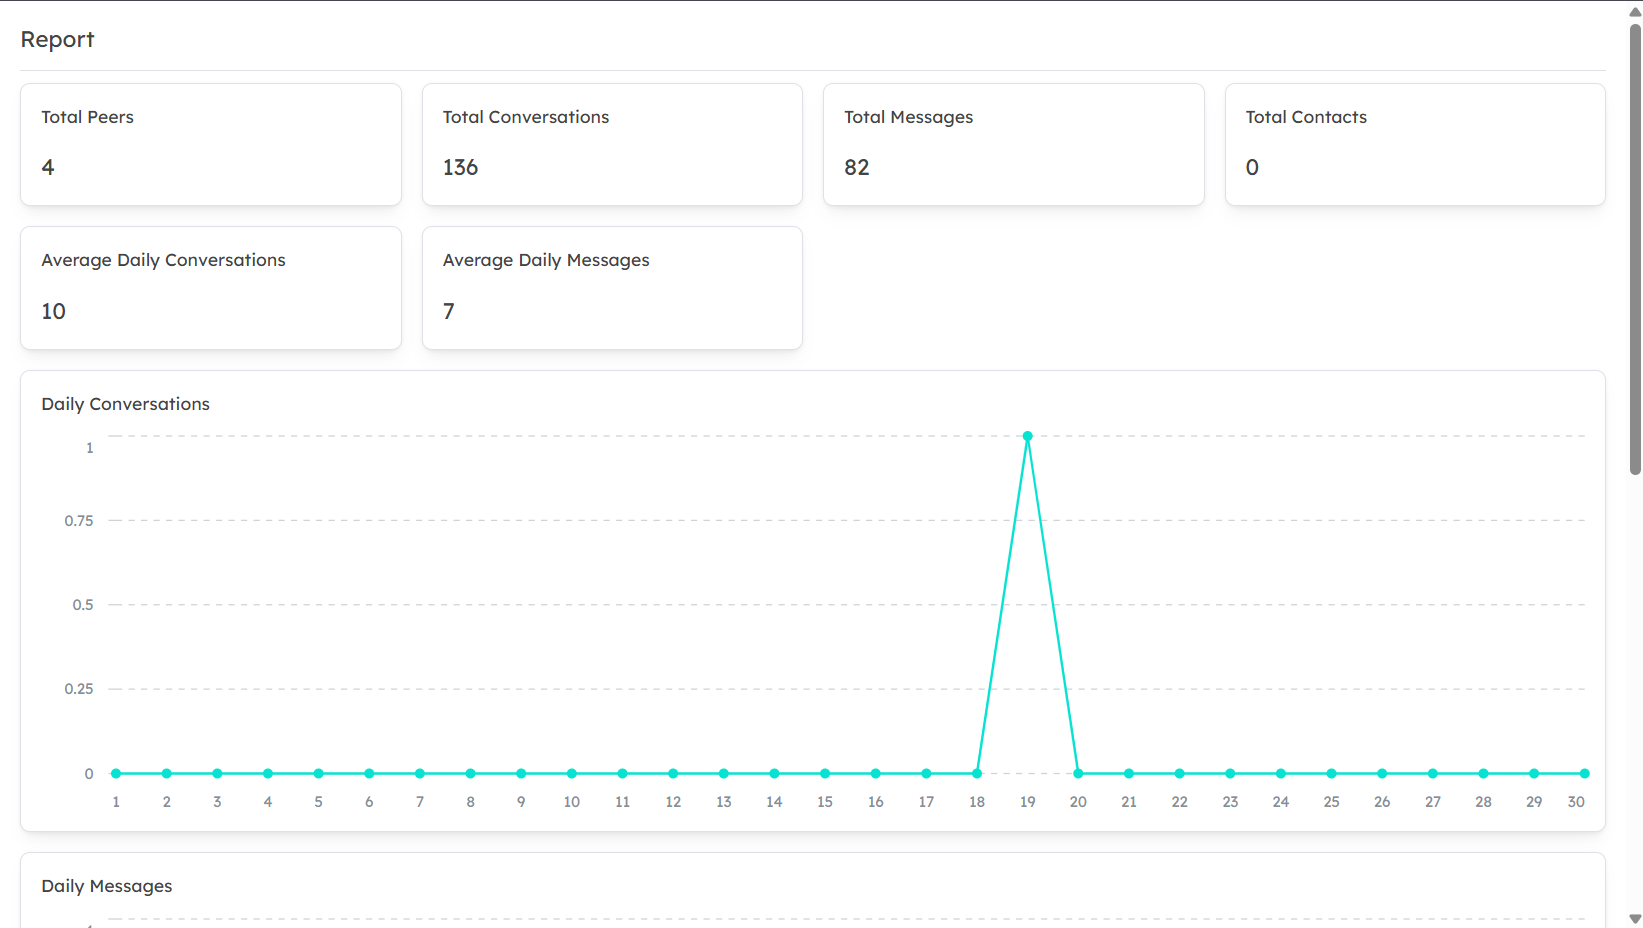
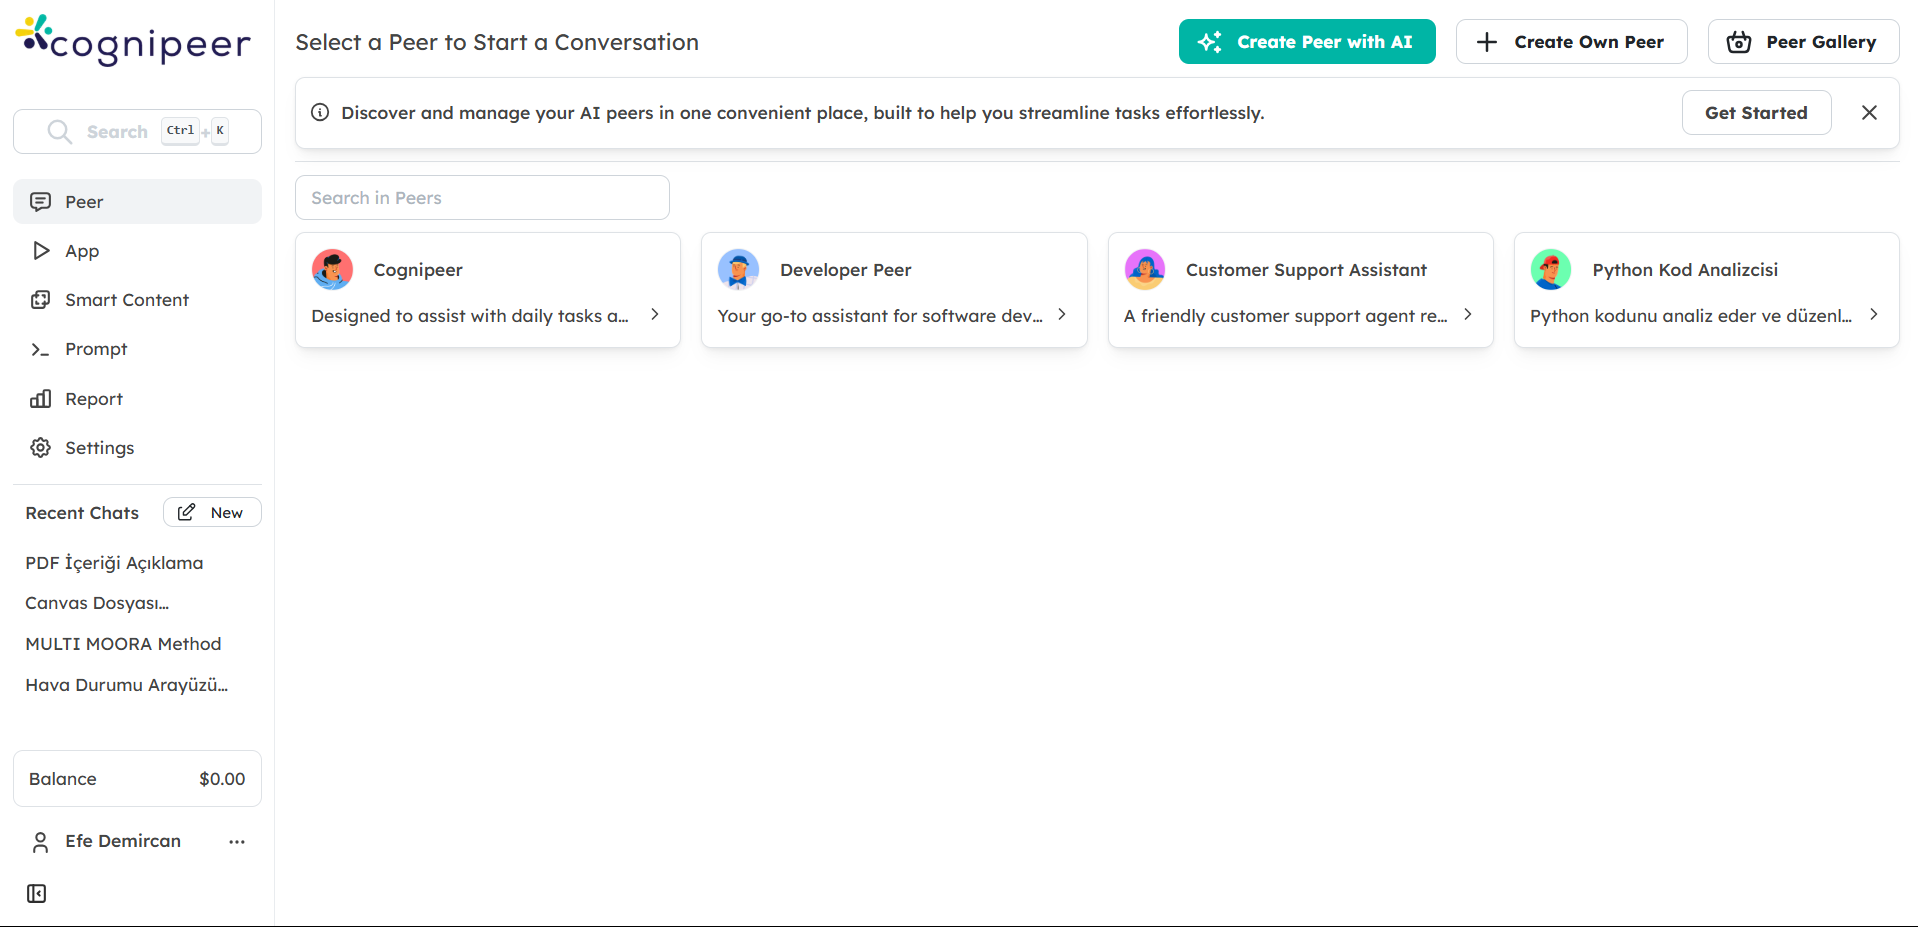
Peer Management
Manage your Peers by customizing their names, models, and prompts. Whether creating a Peer from scratch or selecting one from the gallery, you can easily configure it to perform specific tasks tailored to your business needs.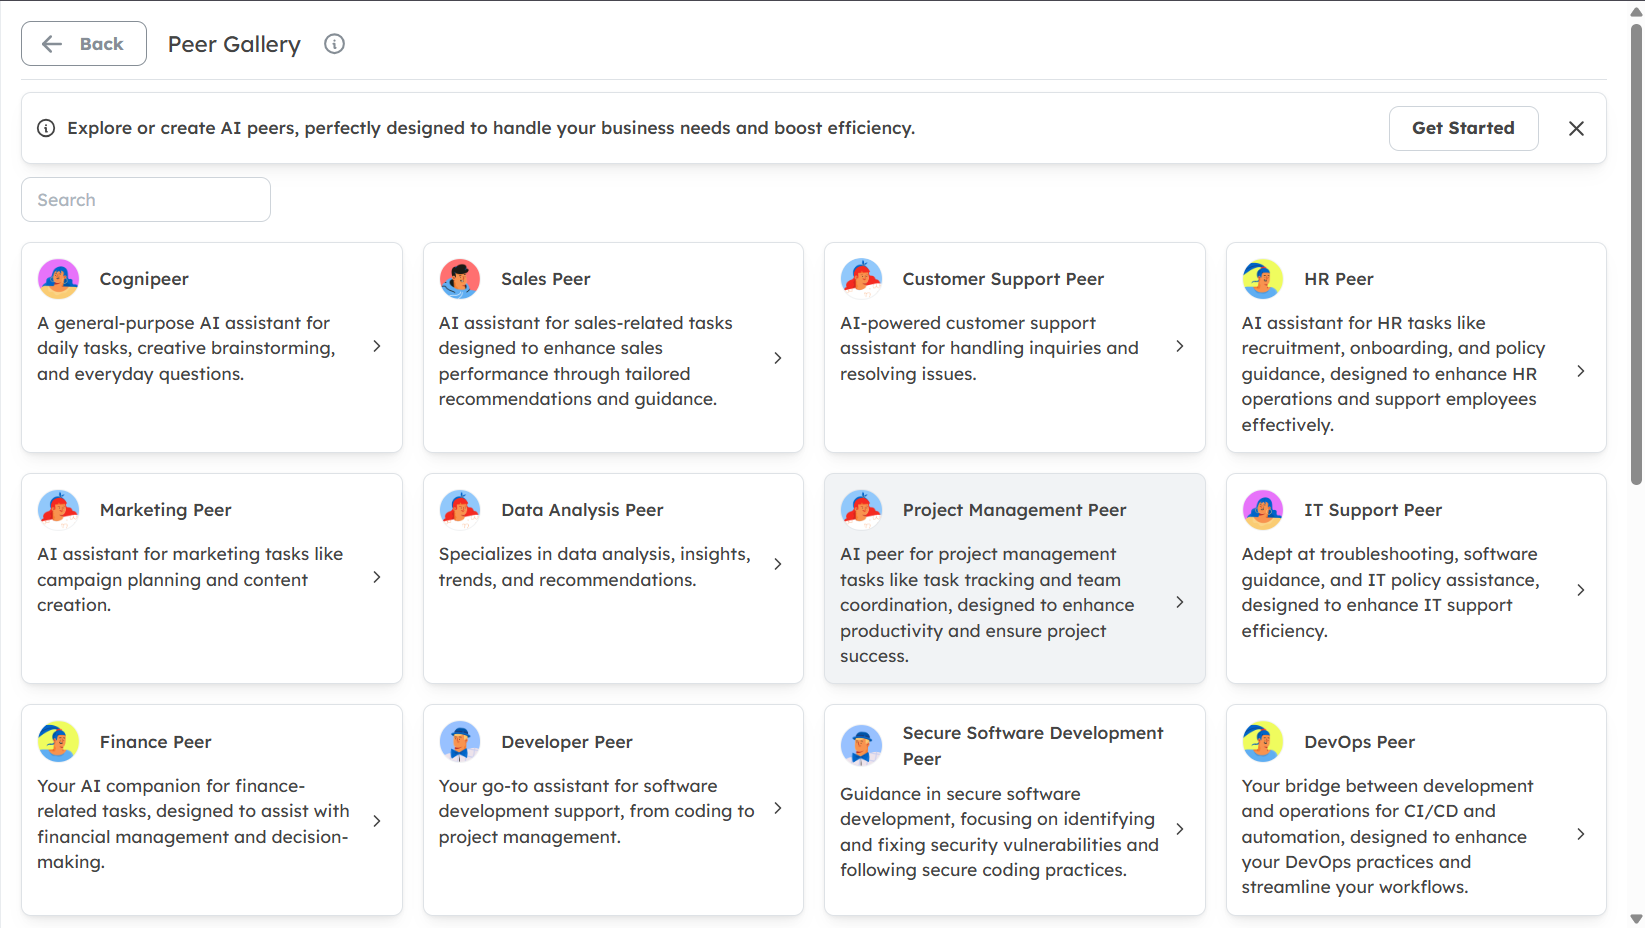
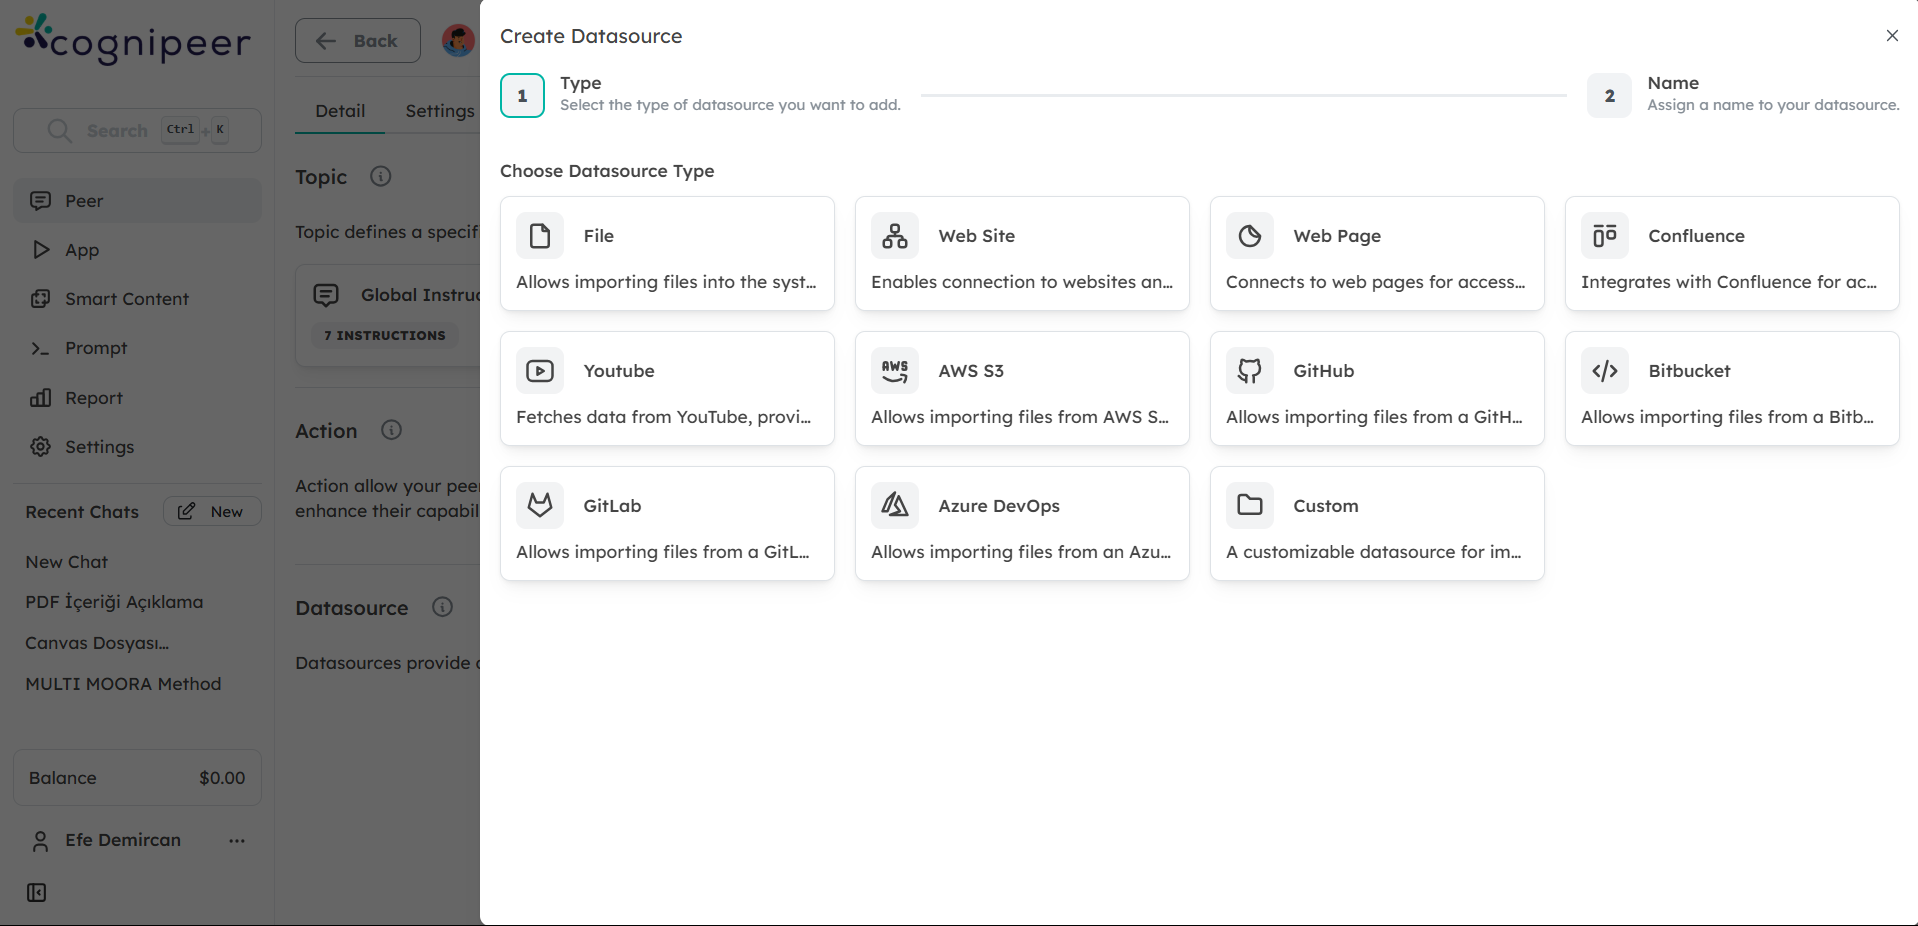
Data Source Integration
Cognipeer allows you to connect various data sources (files, websites, databases) that your Peers can access for more accurate and informed responses. Learn more in our Data Source documentation.
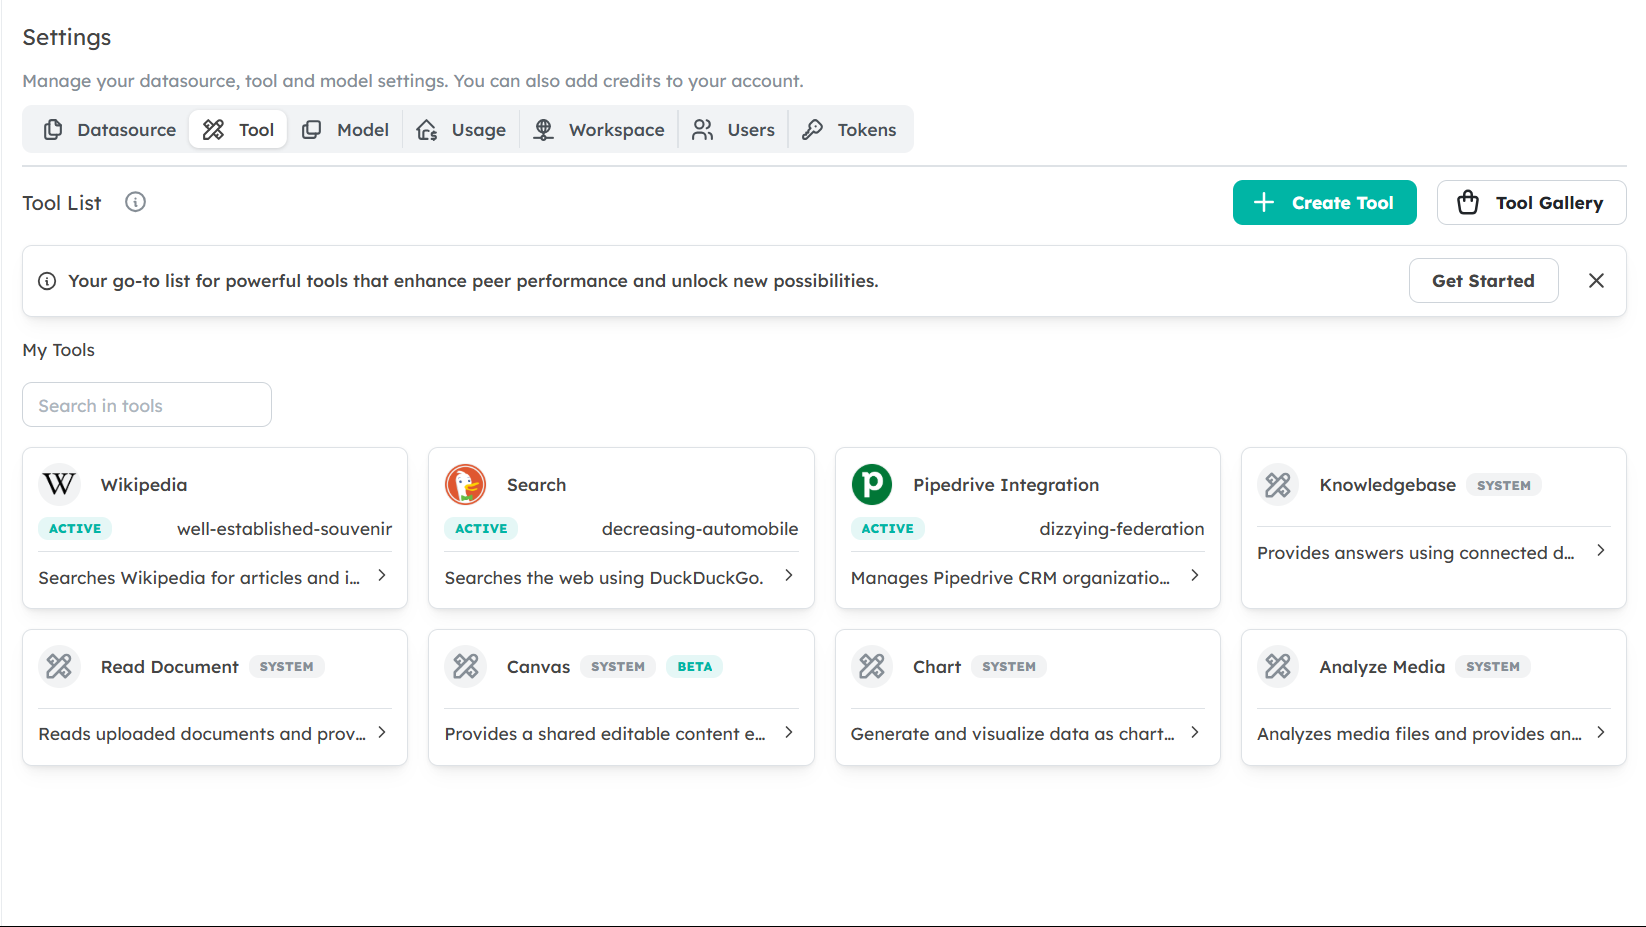
- Tool Integration
Extend the functionality of your Peers by integrating tools such as document readers, CRMs, and web crawlers. These integrations allow your Peers to perform actions such as fetching data, reading documents, and creating tasks in external systems.
Getting Started Steps
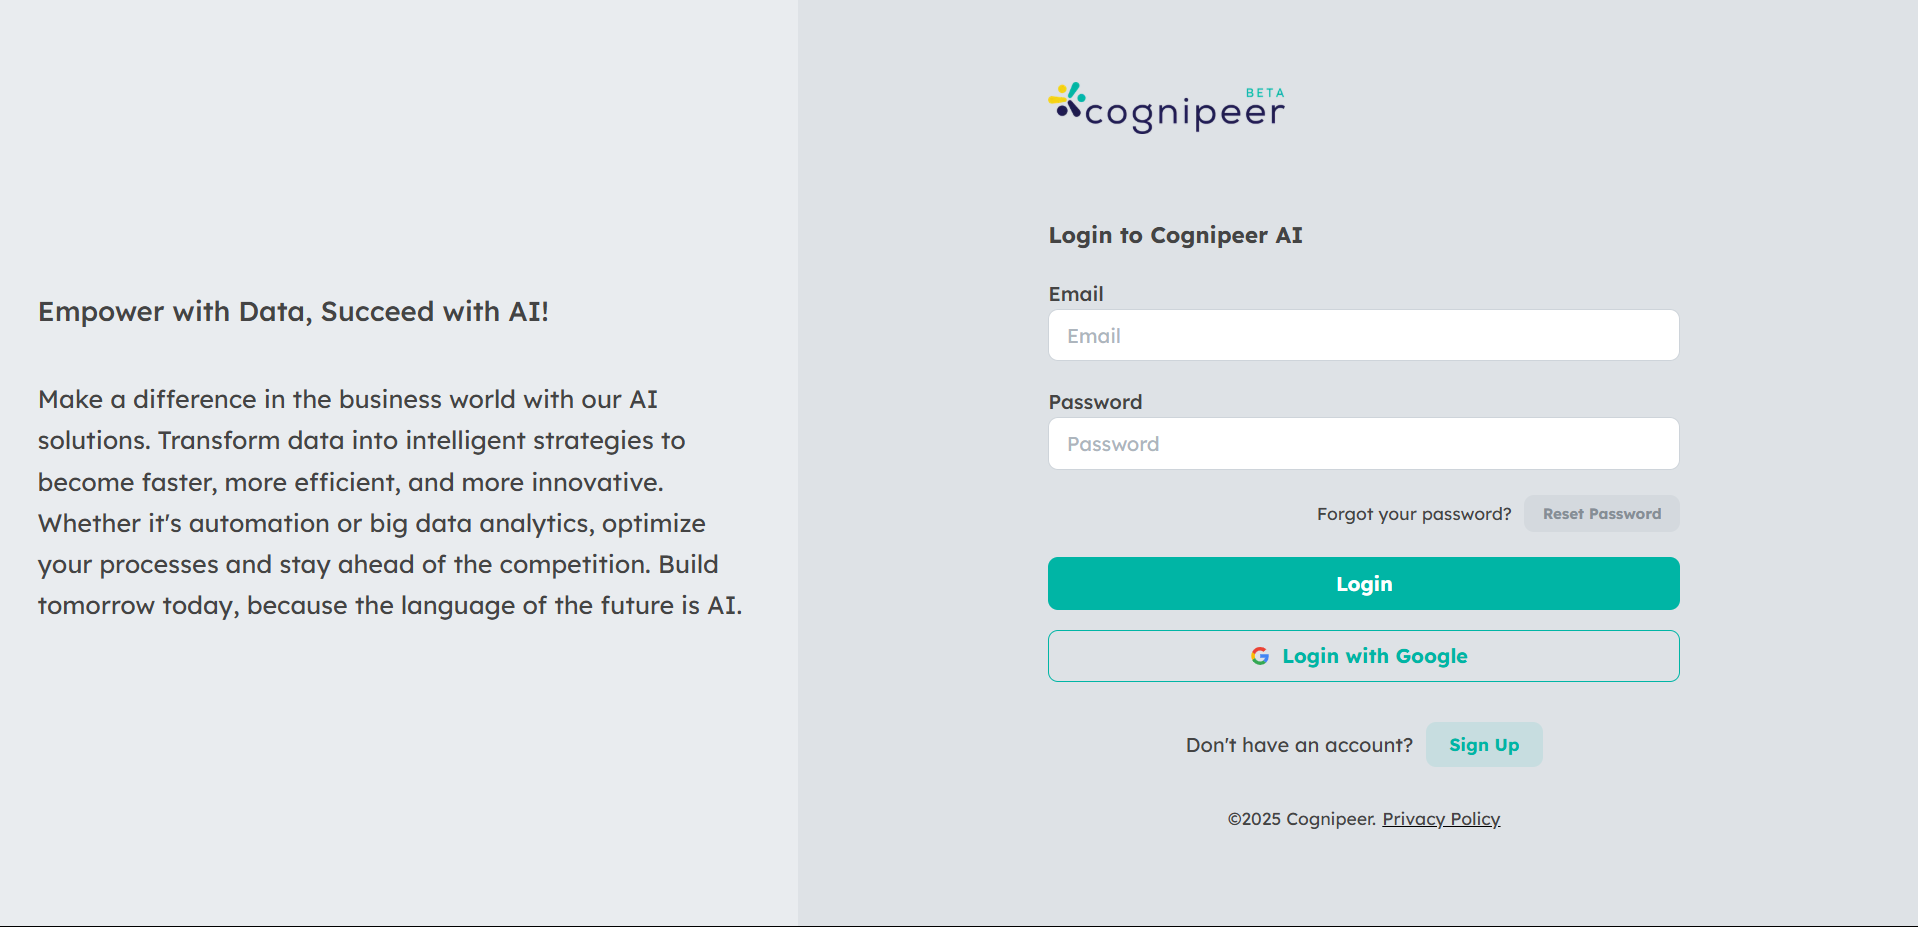
Step 1: Sign Up and Log In
To start, create an account on Cognipeer. After registration, log in to access your Dashboard where you can manage all your Peers, data sources, and tools.
Step 2: Explore the Dashboard
The Dashboard is where you'll find an overview of Peer activity, conversation trends, and performance data. From here, you can access all the key sections to create and manage your Peers.
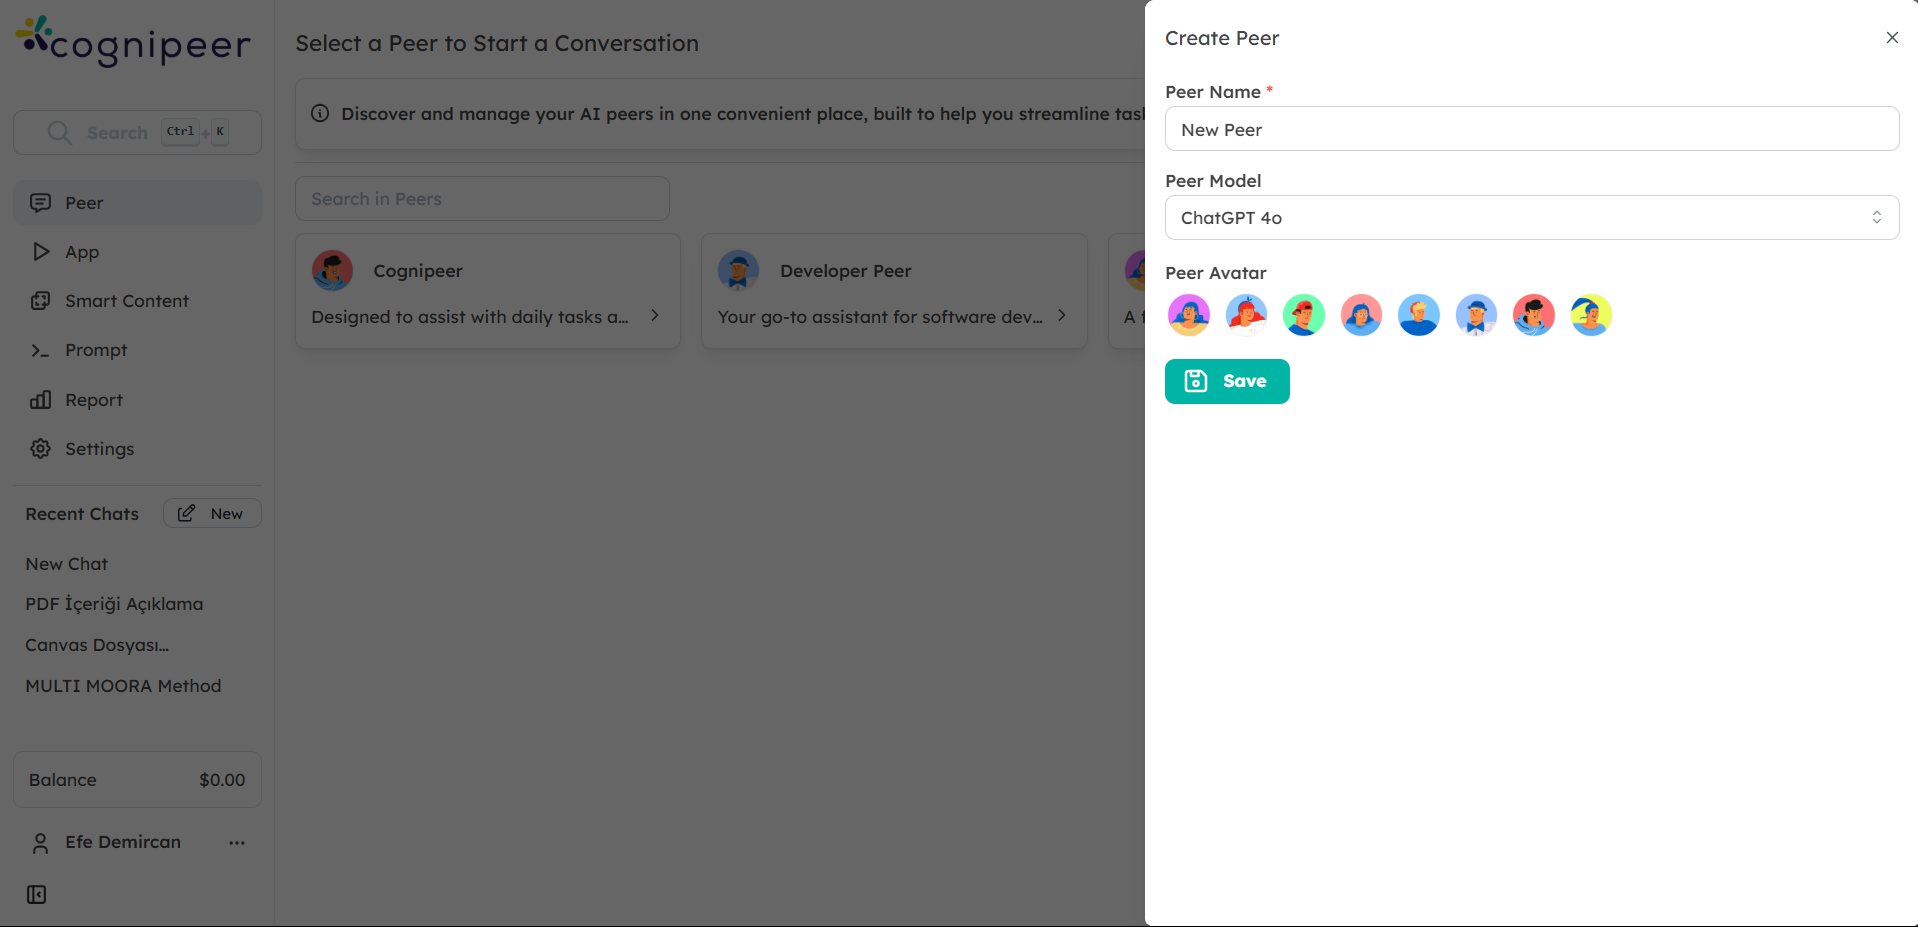
Step 3: Create Your First Peer
- Navigate to the Peers section in the sidebar.
- Click on Create Own Peer or select one from the Peer Gallery.
- Enter a name for your Peer and select an AI model (such as ChatGPT or LLaMA).
- Configure the initial prompts and any security or performance settings.
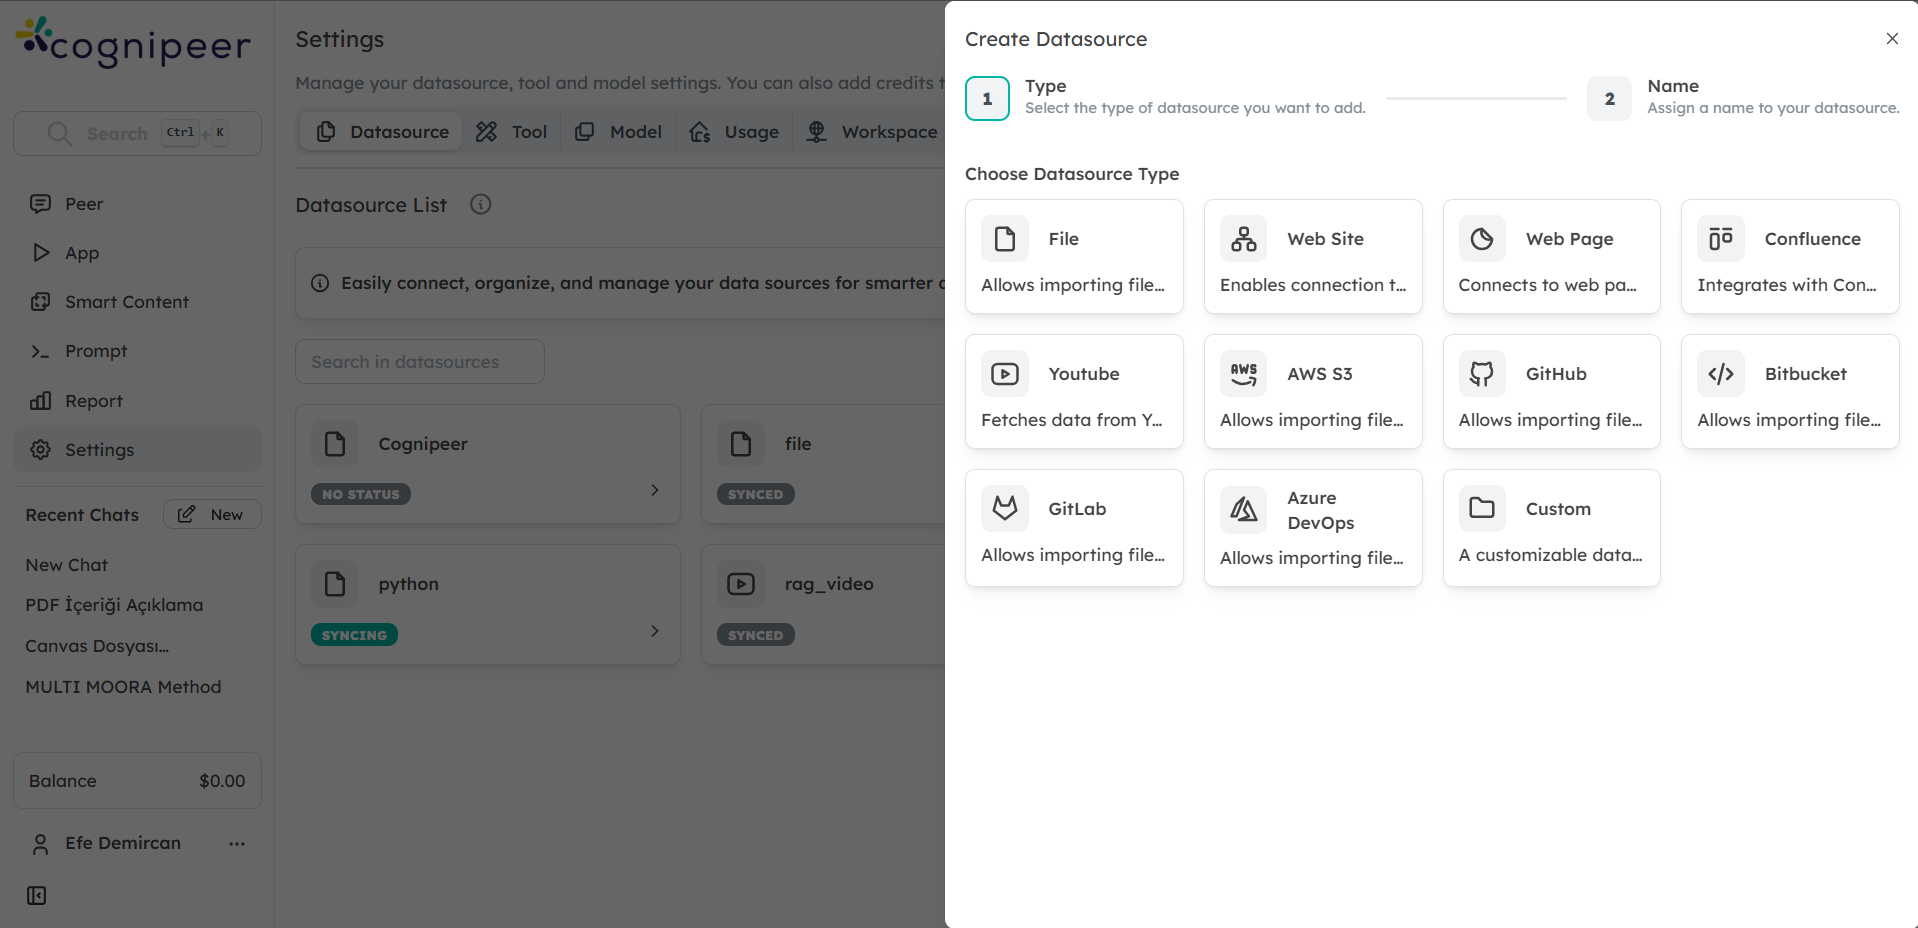
Step 4: Connect Data Sources
To enhance your Peer’s responses, connect relevant data sources like documents, websites, or internal databases.
- Go to the Data Sources section.
- Click on Add Data Source and follow the steps to link your preferred sources.
- Make sure the connected data source is also linked to the Peer for it to provide accurate responses.
Step 5: Add Tools
Extend your Peer’s capabilities by integrating tools like CRM systems, document readers, or search engines. This allows the Peer to perform advanced actions such as retrieving CRM data or analyzing documents in real-time.
- Navigate to the Tools section.
- Click Add Tool and configure it according to your needs.
- Connect the tool to your Peer to enable action-based functionality.

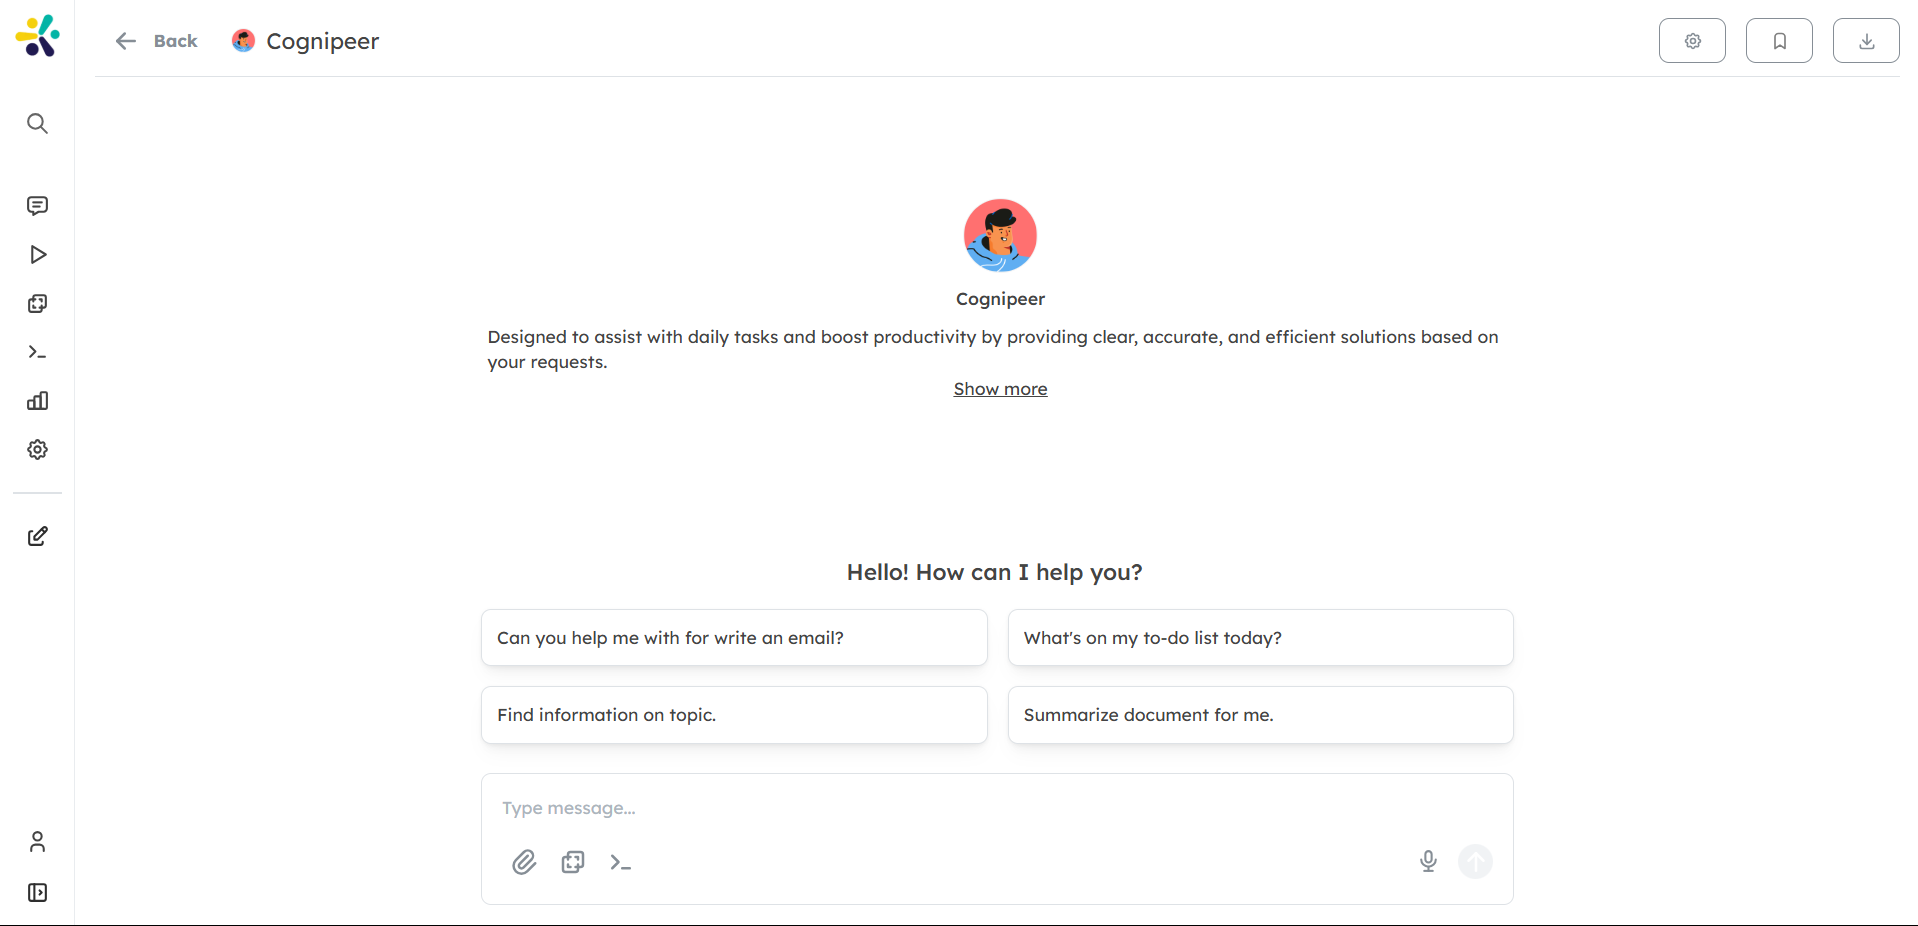
Step 6: Start Chatting with Your Peer
Once everything is set up, head over to the Chat section to start interacting with your Peer. Ask questions, retrieve data, or perform actions through a seamless chat experience.
- Next: Learn how to Chat with Your Peer by visiting our Chat Guide.
Step 7: Monitor Peer Performance
Regularly check the performance of your Peers through the Dashboard. You can track interactions, measure success, and refine your Peer’s actions based on these insights.