Run and Share Flows
Flows can be tested in Studio, shared with teammates, attached to Peers, scheduled, or made available to approved external experiences. This page explains the product workflow for choosing the right sharing option and confirming that a Flow is ready for use.
What this is
Flow sharing controls who can run a Flow and where it appears. A shared Flow can support an internal team process, power a Peer action, collect structured inputs from a form, or run on a recurring schedule.
For API, SDK, endpoint, schema, or custom integration details, use the Developer Hub.
When to use each option
| Option | Use it when |
|---|---|
| Private Flow | You are drafting, testing, or keeping a Flow for your own workspace use. |
| Workspace sharing | Teammates need to review, run, or operate the Flow. |
| Peer attachment | A Peer should invoke the Flow during a conversation or task. |
| Form or public share experience | Users need a guided way to provide inputs without editing the Flow. |
| Schedule | The Flow should run at a regular time, such as a daily check or weekly report. |
| External integration | Another system needs to trigger or consume the Flow with help from a technical implementer. |
Before you start
Make sure:
- The Flow has been tested from the editor.
- Required data sources, tools, widgets, and Peers are already connected.
- Approval steps are placed anywhere a human decision is required.
- The Final step returns a clear result for the person or system that runs the Flow.
- Your workspace permissions allow you to share, publish, or schedule Flows.
Share a Flow inside your workspace
- Open the Flow in Studio.
- Review the Flow name, description, input fields, and Final step.
- Open the sharing or permissions controls.
- Choose the teammates, groups, or workspace audience that should access it.
- Set the access level that matches the workflow.
- Save the change and ask one teammate to verify the Flow from their account.
Use workspace sharing for internal handoffs, operational checklists, support workflows, and review processes.
Attach a Flow to a Peer
Attach a Flow to a Peer when the Peer should run the Flow as part of a conversation or guided task.
- Open the Peer that should use the Flow.
- Add the Flow as an action or tool, depending on the Peer setup.
- Confirm the Flow inputs match the information the Peer can collect.
- Test the Peer conversation with realistic messages.
- Check that approval, form, widget, and Final steps appear as expected.
If the Flow uses chat-only steps such as User Approval, Client Tool, Show Form, or Add Widget to Message, test from the same chat experience that end users will use.
Schedule a Flow
Use scheduled Flows for recurring reports, checks, summaries, or follow-up tasks.
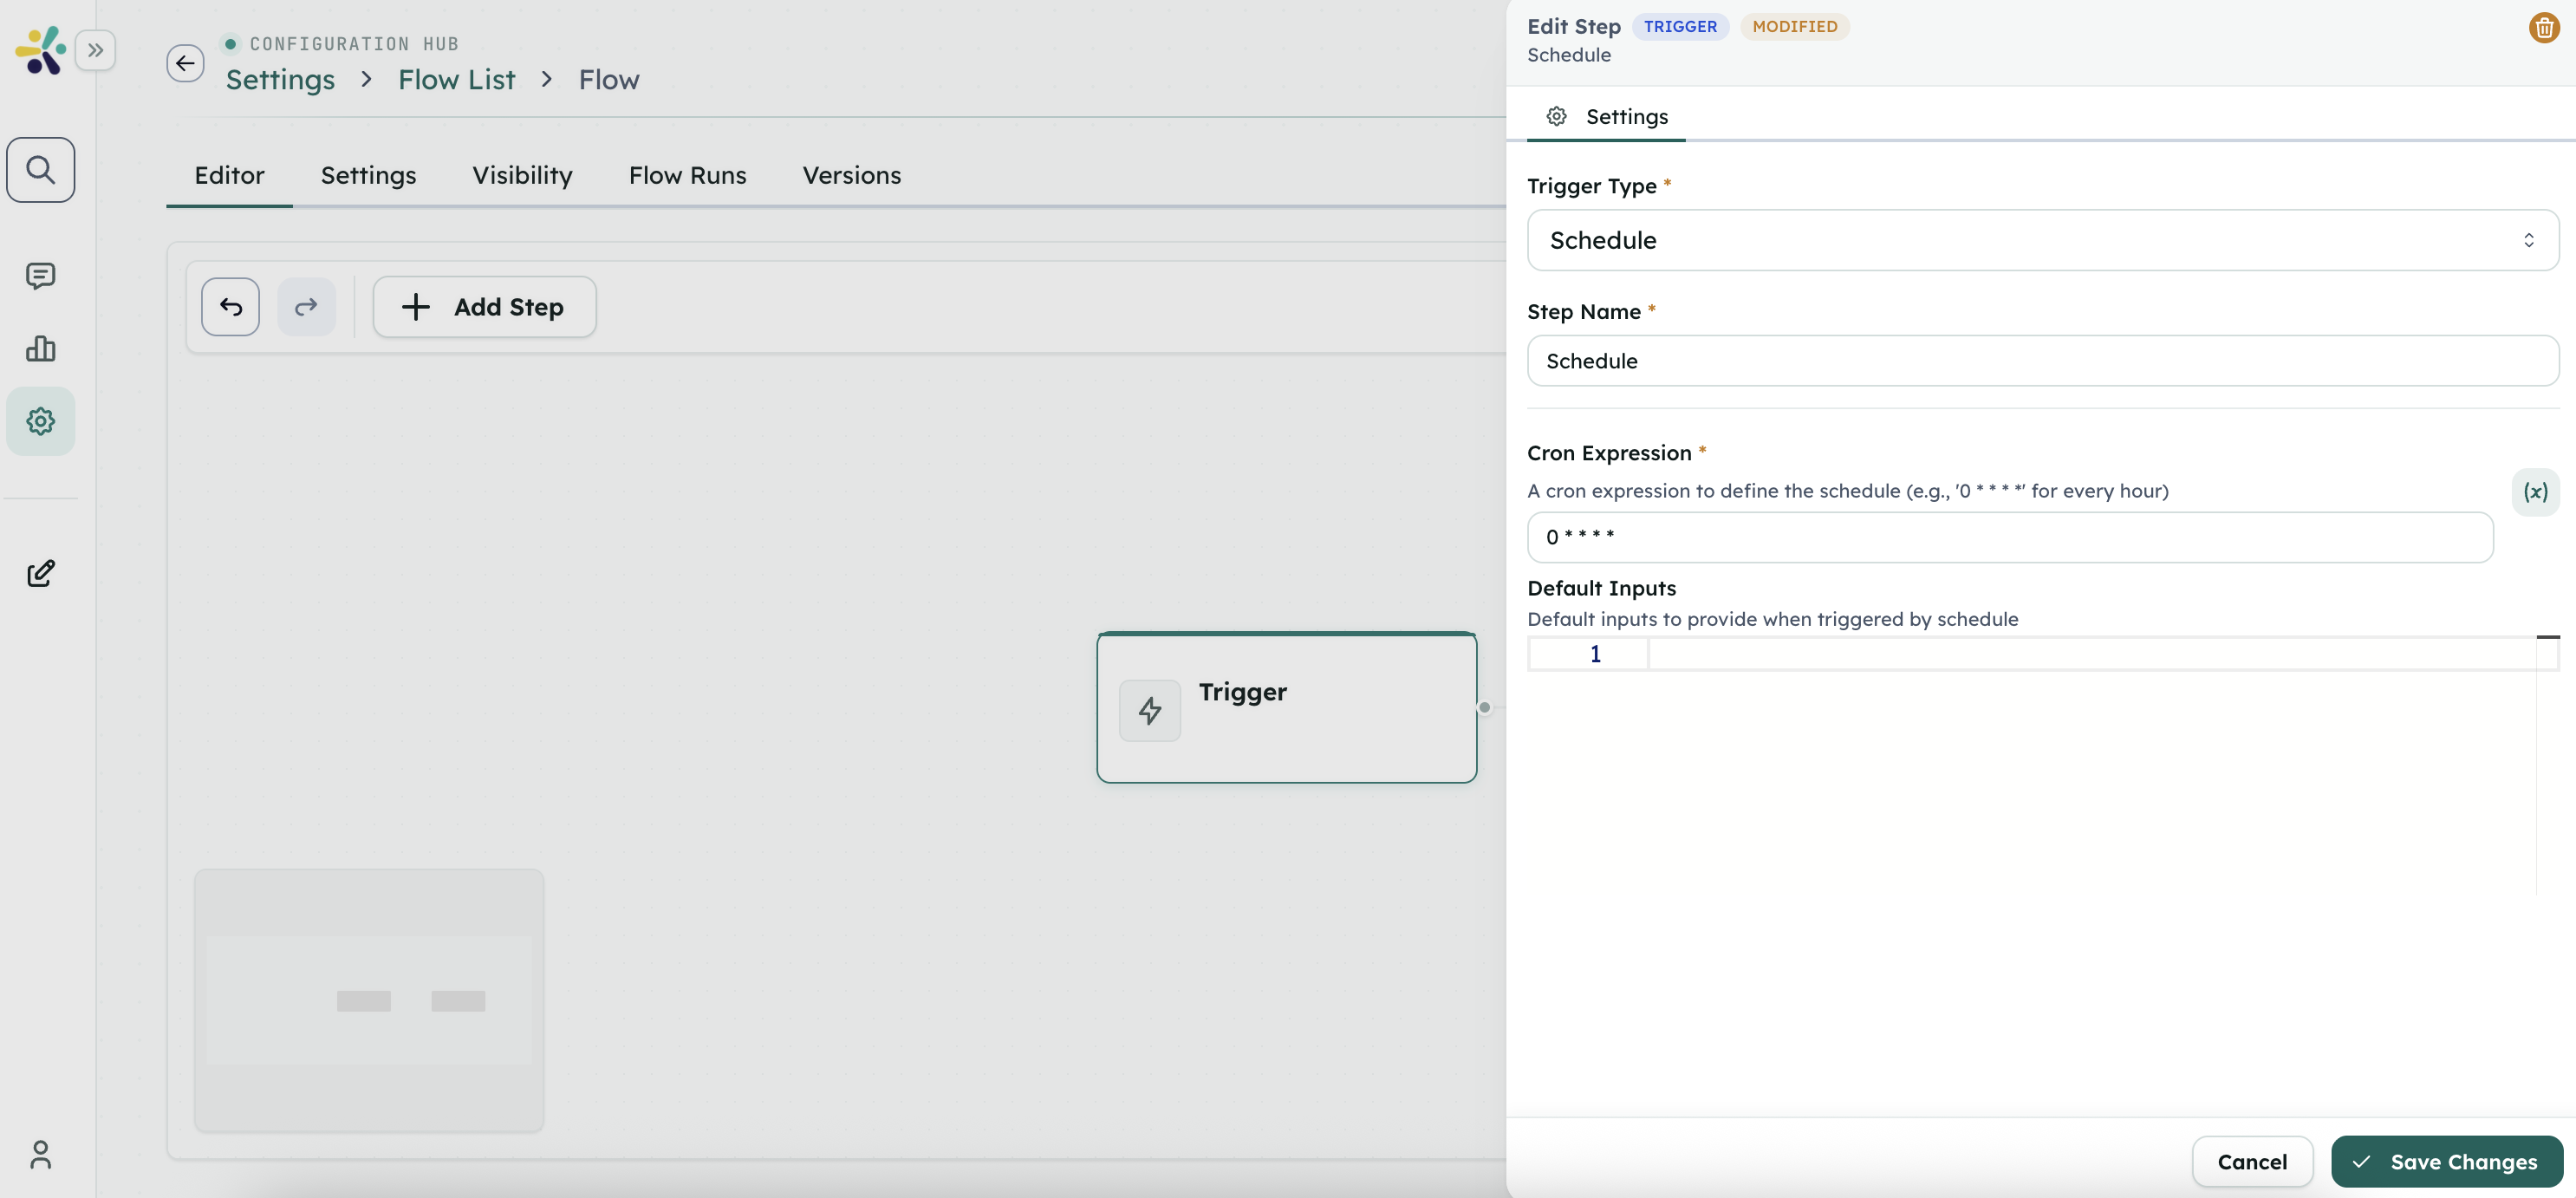
- Open the Flow settings.
- Add a schedule.
- Choose the recurrence and time zone.
- Provide default inputs if the Flow needs them.
- Save the schedule.
- Review the first scheduled run before relying on it for production work.
Avoid scheduling a Flow until the draft has been tested with the same inputs the schedule will provide.
Review runs and troubleshoot
After a Flow runs, review the run history from Studio.
Check:
- Whether the run completed, failed, or paused for approval.
- Which step produced an unexpected result.
- Whether required inputs were missing.
- Whether a connected tool, data source, or Peer needs attention.
- Whether a rejected approval followed the intended branch.
If a Flow pauses, the user normally resumes it through the approval, form, client-tool, or chat UI shown by the product.
Best practices
- Keep draft work private until the Flow has a clear owner and test path.
- Use published versions for recurring or customer-facing workflows.
- Add approval steps before irreversible actions.
- Keep inputs stable when a Flow is used by a Peer, schedule, or external integration.
- Document who owns the Flow and what they should check after each major change.
For technical implementation
Use the Developer Hub for API execution, SDK setup, custom client integrations, endpoint behavior, request formats, response formats, polling, resume handling, import/export automation, and file or log access.