Creating Your First Flow
This guide covers creating a first Flow in Cognipeer. The example workflow searches a knowledgebase and uses a language model to generate a summary.
Prerequisites
Before you begin, ensure you have:
- Access to the Cognipeer platform
- Appropriate permissions to create Flows
- At least one datasource configured in your workspace
Step 1: Navigate to the Flows Section
- Log in to your Cognipeer account
- From the dashboard, click on the Flows section in the sidebar
- Click Create New Flow to start
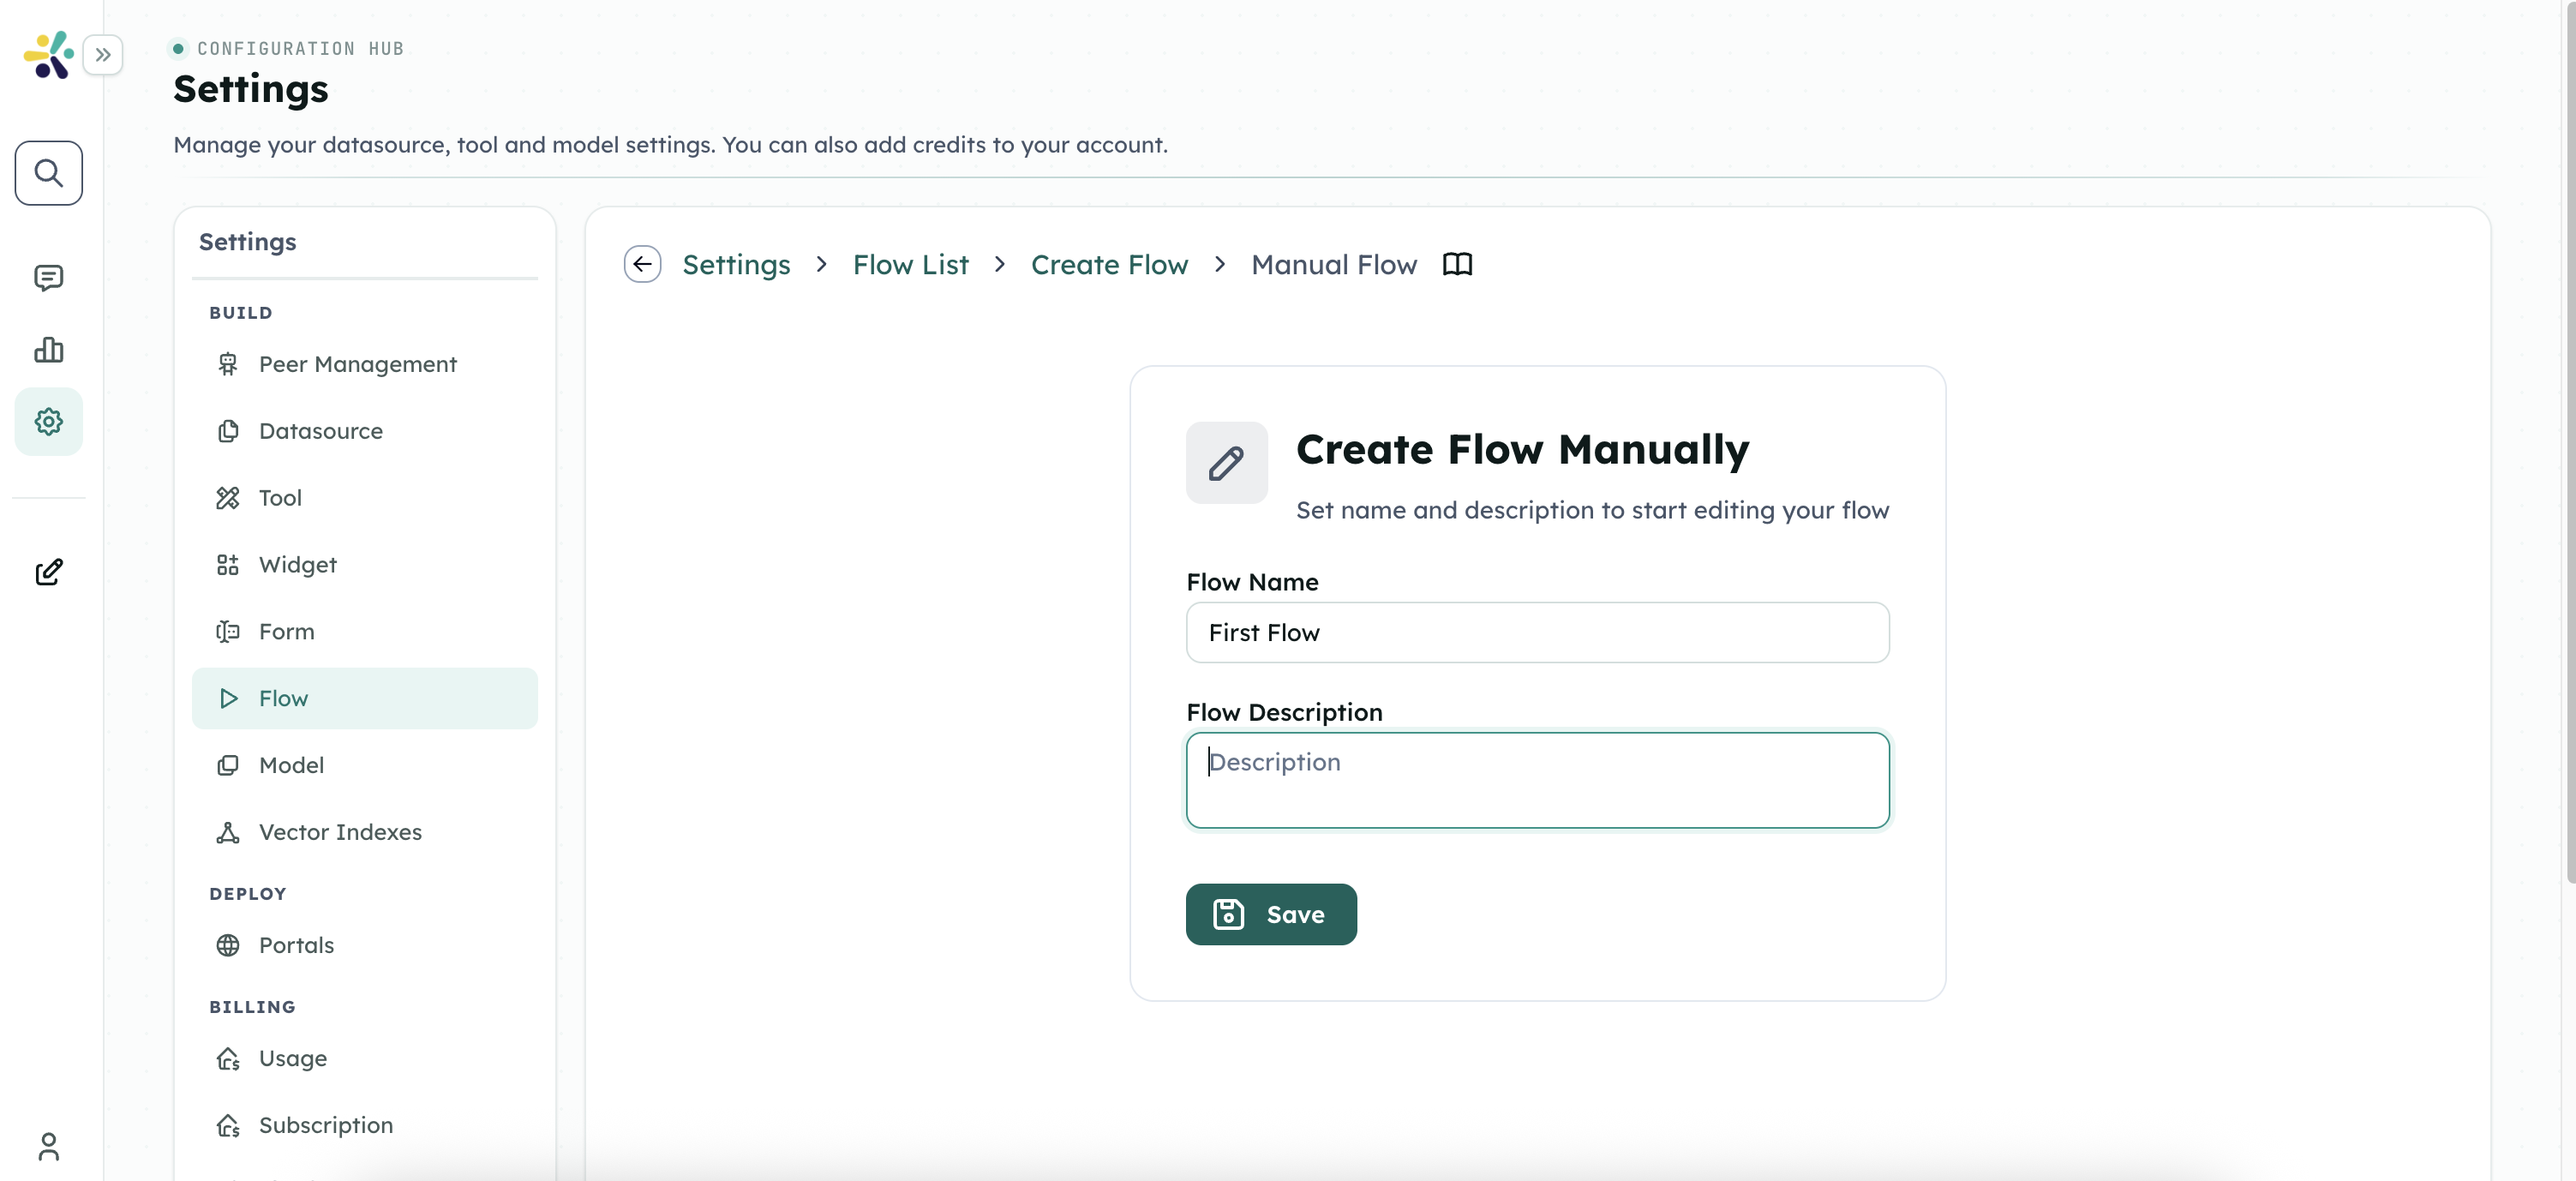
Step 2: Define Flow Details
- Enter a Name for your Flow (for example, "Knowledge Summarizer")
- Provide a Description that explains what your Flow does
- Optionally, upload an Icon
- Click Next to proceed to the inputs configuration
Step 3: Configure Inputs
For our Knowledge Summarizer Flow, we'll need two inputs:
Add a Text Input:
- Name:
searchQuery - Label: "Search Query"
- Description: "Enter the topic you want to search for"
- Required: Yes
- Name:
Add another Text Input:
- Name:
summaryLength - Label: "Summary Length"
- Description: "Enter 'brief', 'medium', or 'detailed'"
- Default Value: "medium"
- Required: Yes
- Name:
Click Next to proceed to the steps configuration
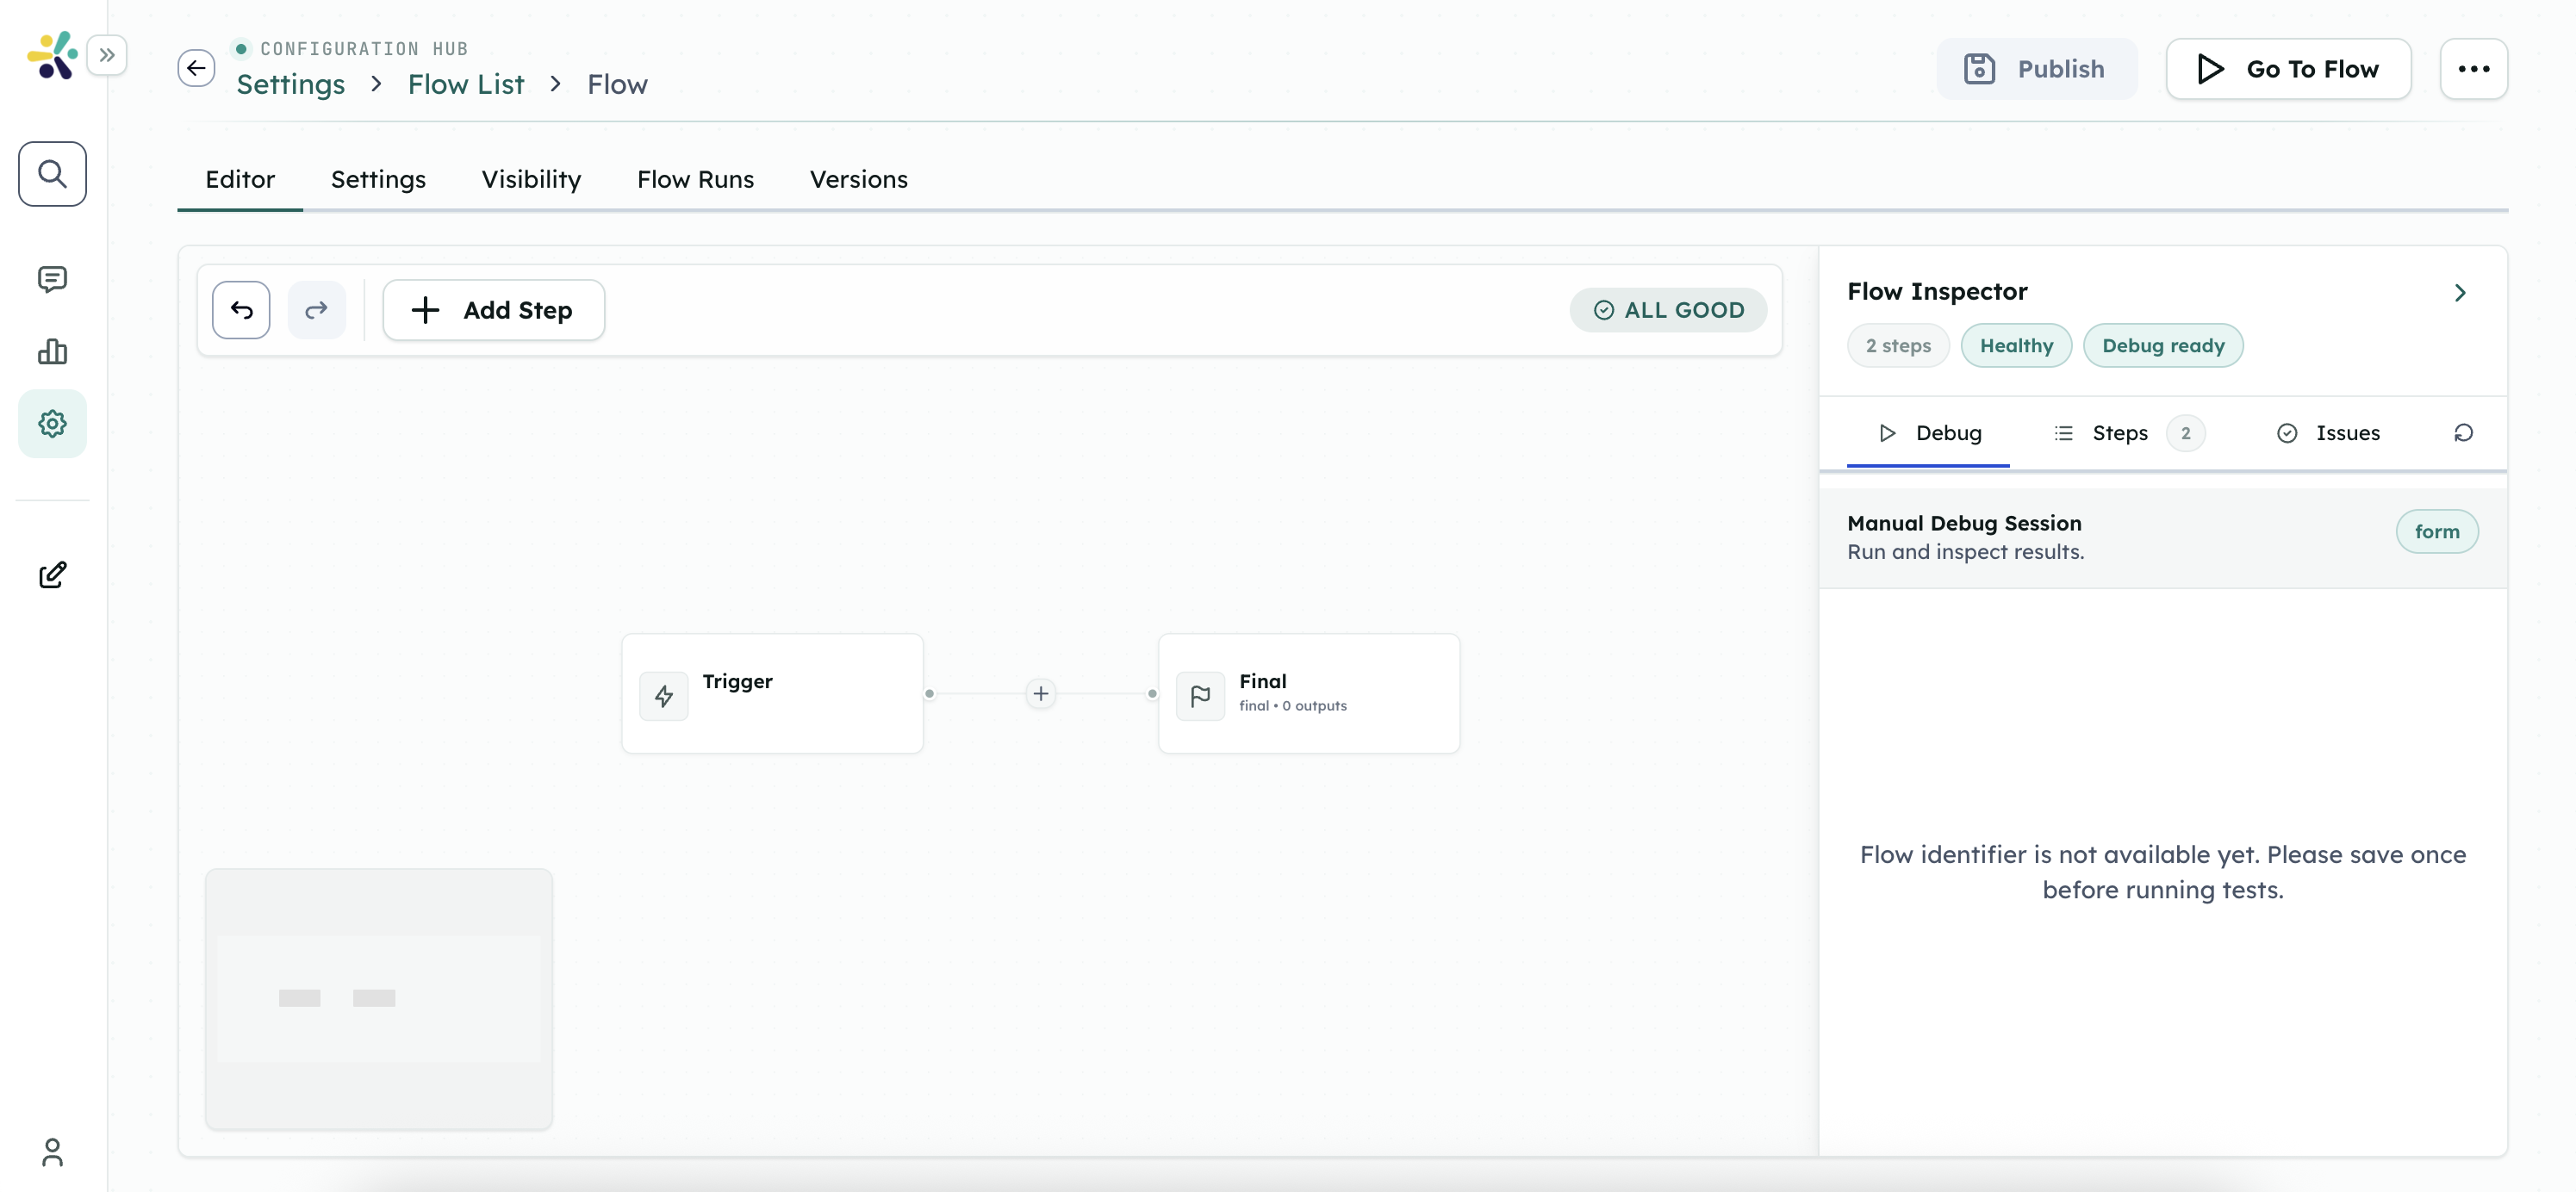
Step 4: Build the Steps
Now we'll add steps to create our workflow:
Add a Search Knowledgebase Step
- Click Add Step and select Search Knowledgebase
- Configure the step:
- Step Name: "Search for Information"
- Output:
searchResults - Datasource IDs: Select the datasources you want to search
- Prompt: Use
{ {searchQuery} }in the expression editor - All Contents: Check this box to include all content types
- Click Save Step
Add an Ask LLM Step
- Click Add Step again and select Ask LLM
- Configure the step:
- Step Name: "Generate Summary"
- Model ID: Select your preferred language model
- Prompt: Enter the following prompt, using the expression editor to insert dynamic values:
Based on the following information: { {searchResults.results} } Please provide a { {summaryLength} } summary of the key points about { {searchQuery} }. If the information is insufficient, please state that clearly. - Output:
generateSummary
- Click Save Step
Step 5: Map Outputs
Define what your Flow will return after processing:
Click Add Output and configure:
- Output Name:
summary - Output Label: "Summary"
- Output Value:
{ {generateSummary.response} }
- Output Name:
Click Next to proceed to testing
Step 6: Test Your Flow
In the test section, enter values for your inputs:
- Search Query: "artificial intelligence"
- Summary Length: "brief"
Click Run Test to execute your Flow
Review the results to ensure your Flow is working as expected
- Check that the search is finding relevant information
- Verify that the summary is generated correctly
Step 7: Save and Publish Your Flow
If your test was successful, click Save Flow
Choose the visibility settings for your Flow:
- Private: Only you can access it
- Shared: Specific users or teams can access it
- Public: All users in your workspace can access it
Using Your Flow
Now that your Flow is created, you can:
- Run it directly from the Flows section
- Share it with colleagues who can use it with their own inputs
- Attach it to a Peer as a tool, allowing the Peer to use your Flow during conversations
- Access it via API for integration with other systems
Next Steps
- Explore step types.
- Learn about Flow sharing and integration.
- Build complex workflows with multiple steps and data processing.